Installing Widget Packages
Materia widgets are distributed in the form of a .wigt file. These files contain all the code, assets, and data needed to install a widget. To learn more about how widgets are built, check out the Widget Developer Guide.
Finding Widgets to Install
Widgets are maintained serpately from Materia itself, each having it’s own, independant development cycle. We have a Materia Widget Gallery that searches github for all publicly shared widgets.
Note: The Widget Gallery will include widgets made by the core Materia development team and 3rd parties.
Installing Widgets from the Admin Panel
Materia’s admin panel allows administrators to upload new widgets. Log in as an administrator, and navigate to the Admin Widget Page (materia.your_school.edu/admin/widget). Uploading a widget is as easy as clicking upload and selecting the .wigt file from your computer.
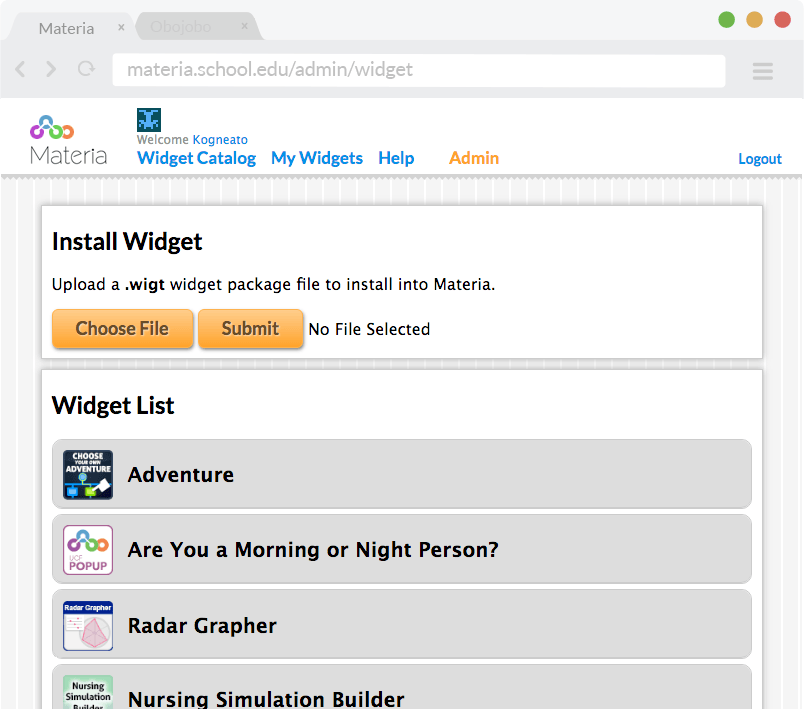
Note that the admin panel currently assumes you’re upgrading a widget if an existing widget with the same clean_name exists.
Installing Widgets from the Command Line
You’ll need terminal access to the server. From the root Materia directory, you’ll be able to run a number of Task Commands to install, upgrade, and inspect widgets.
Running widget:install will unpack the widget, place its assets where they need to be, and register the widget in the database of availible widgets. All of the widget’s settings are set automatically by the widget’s install.yaml configuration, though they can be altered using the Admin panel.
Example Install Task
$ php oil refine --skip-upgrade widget:install path/to/materia-widget.wigt
Remember, you may need to set the
FUEL_ENVenvironment variable (mentioned here) to make sure oil loads the correct configuration files.
Install Task Options
--skip-upgrade
When installing a widget, Materia look up existing widgets using the same clean_name and assumes you want to replace it. This is normally fine, but name conflicts can occur. We recommend using the --skip-upgrade option when installing a new widget to add a level of safety.
--replace-id=<WIDGET_ID>
When upgrading a widget, the clean_name matching can, again, have a few pitfalls. To specify the exact widget you’d like to upgrade, the id of the widget to be upgraded can be passed as an option.